The Video Playlist component allows to pre-load and organize a series of videos to be played during a live broadcast seamlessly. By having a prearranged playlist, you can ensure that the correct content is presented in the desired sequence, maintaining audience engagement and reducing downtime between segments. The playlist can be adjusted in real-time if needed, providing flexibility to adapt to changing broadcast conditions or viewer interactions.
How to create a Video Playlist?
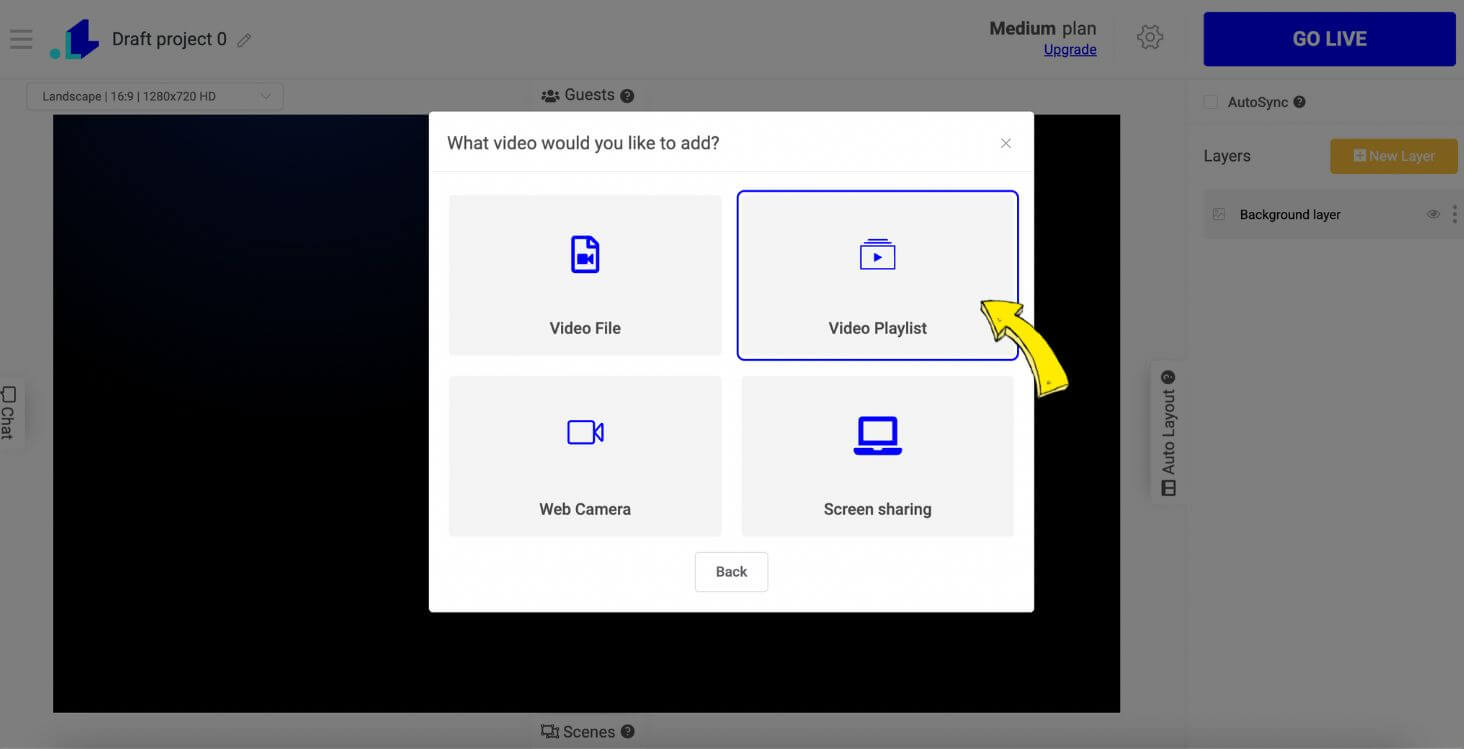
1. Head to your project in the LiveReacting studio, and create a new layer by selecting ➡️ New Layer ➡️ Video ➡️ Video Playlist.
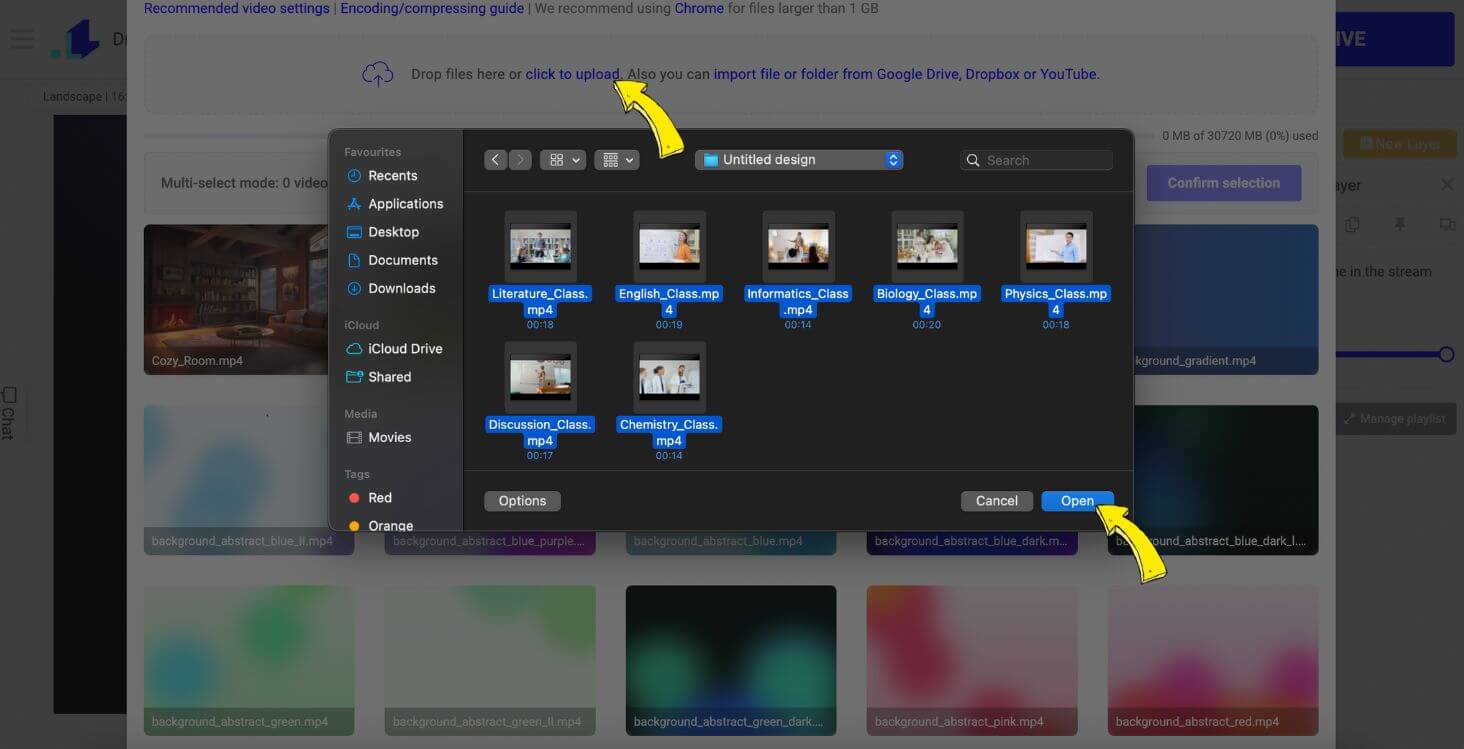
2. Click to Upload your videos in bulk by selecting the right files.
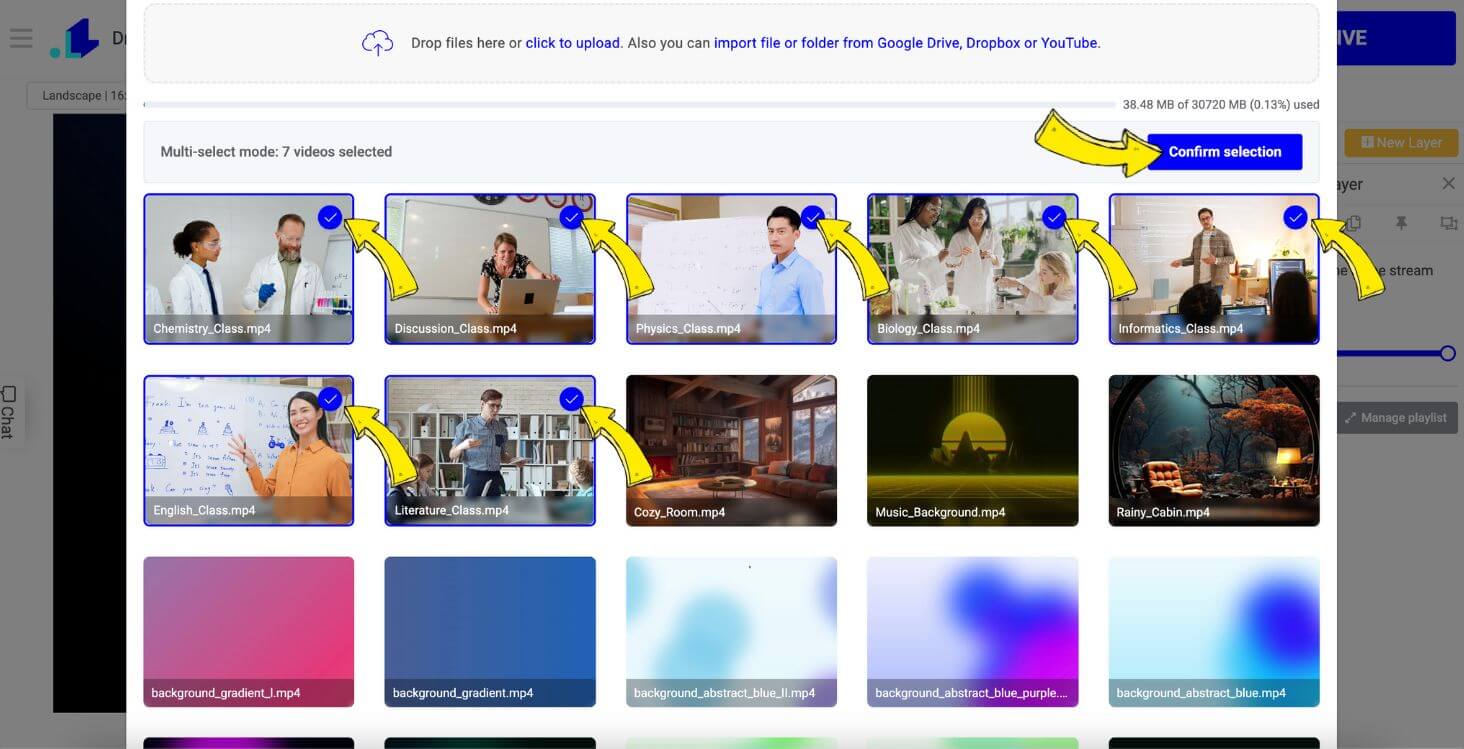
3. Once uploaded, select the video files that you want to add into a playlist and click the button to Confirm Selection.
How to customize a Video Playlist?
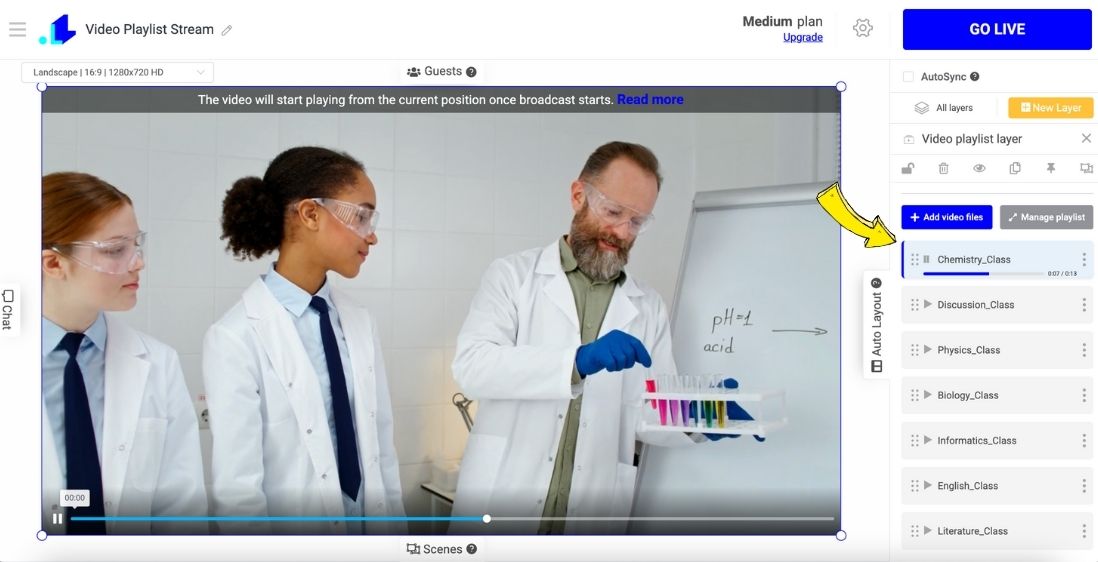
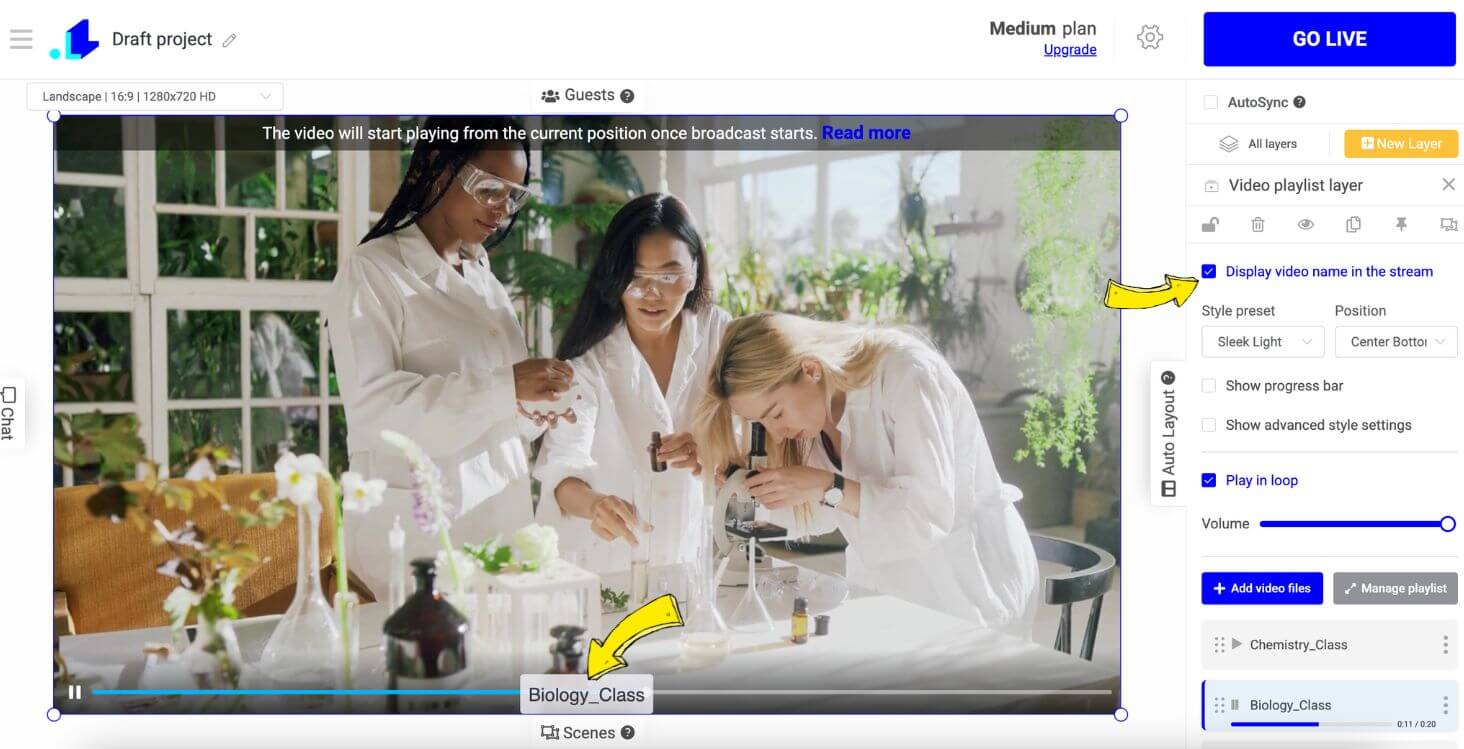
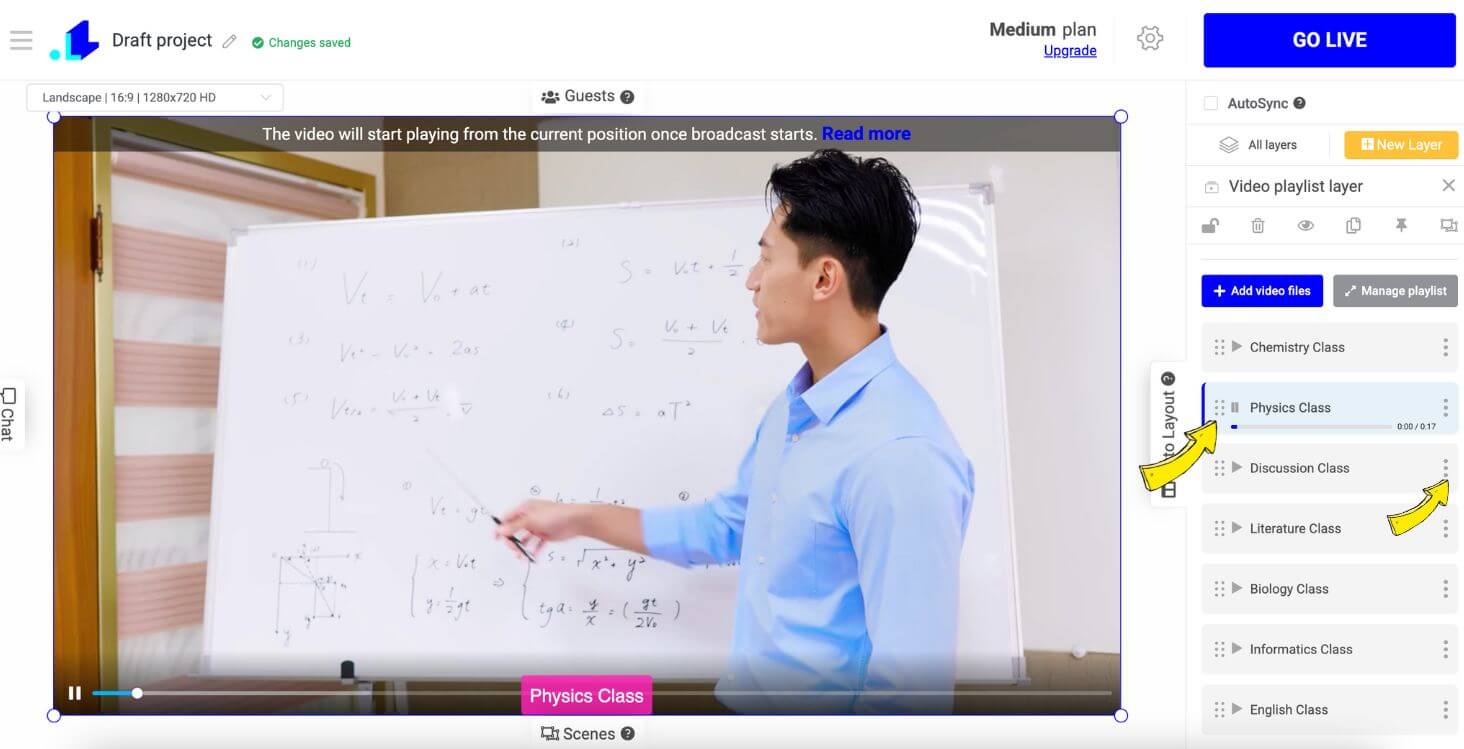
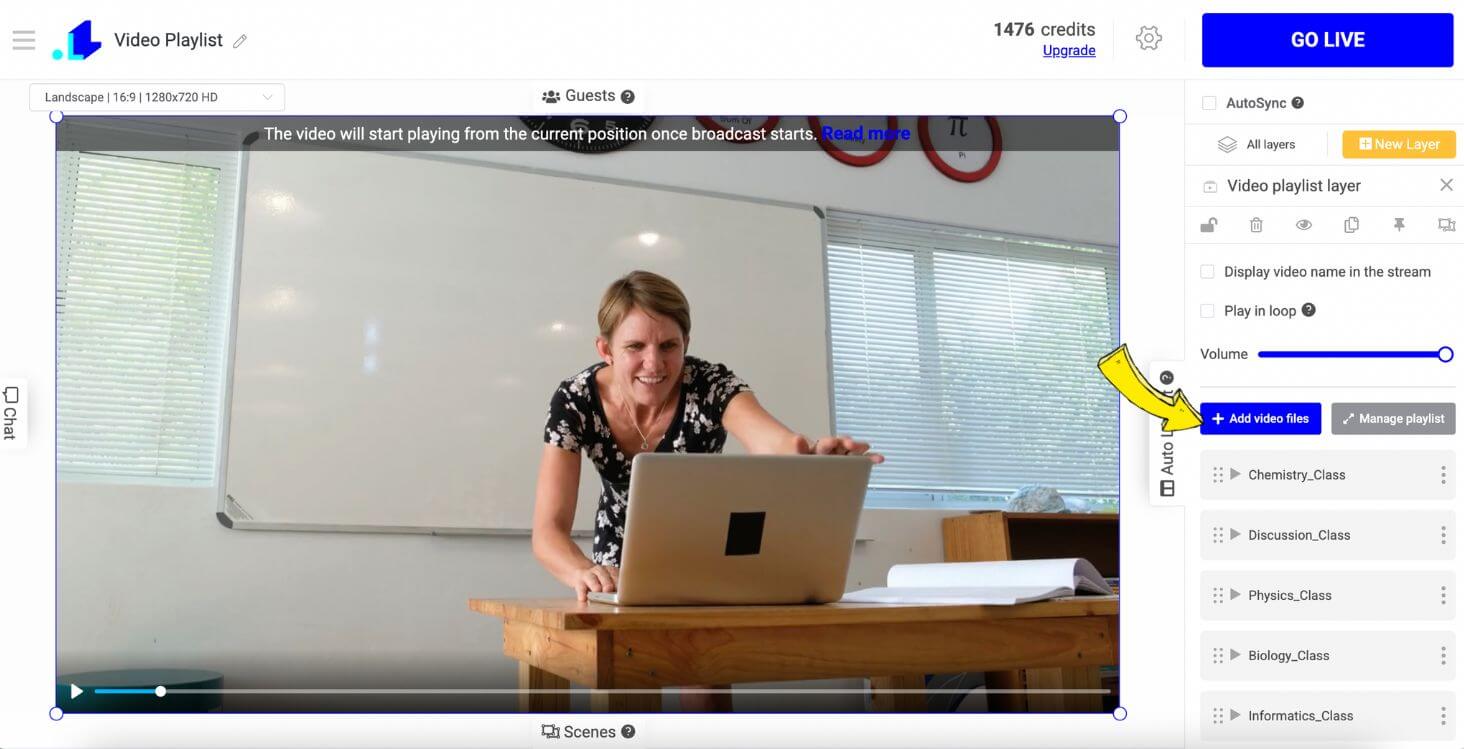
Once you've uploaded your playlist, it will be shown on the right sidebar.
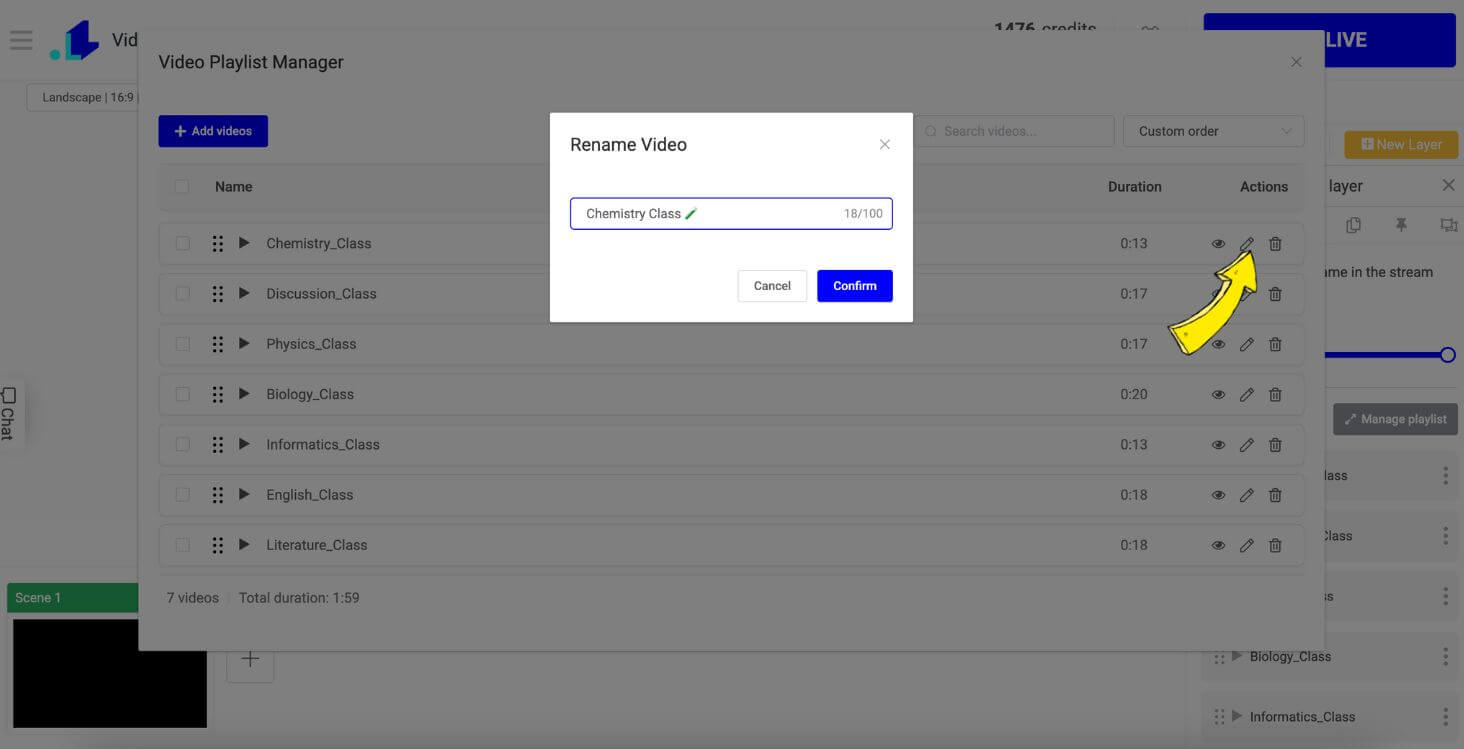
There's an option that allows you to "Display video name in the stream." If you enable it, the name of the video in the playlist will be indicated right in the stream. You can choose a style preset, position, and color for it. Also, you easily edit the name of the video file by clicking on the edit (pen) icon on specific video file.
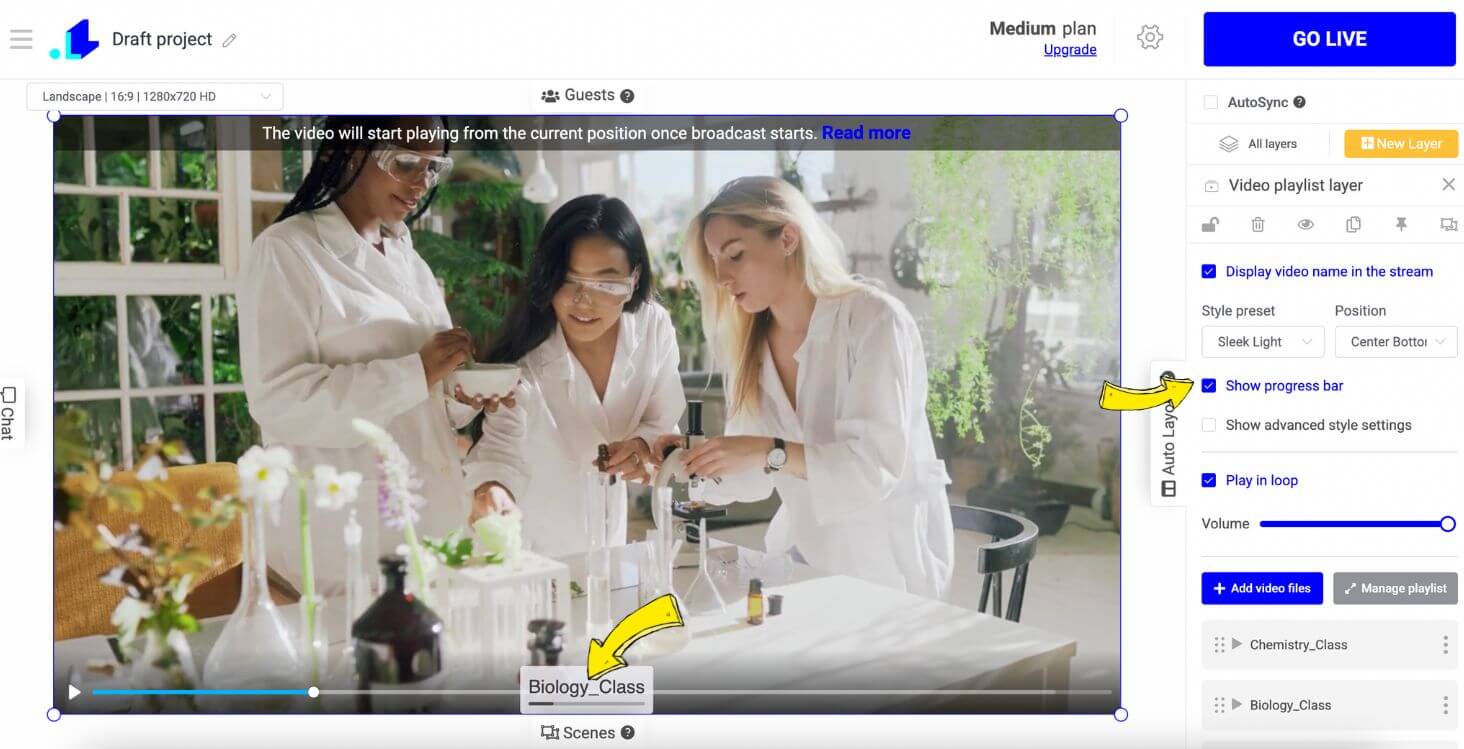
There's an option that allows you to "Show progress bar" in the box with the video file name. Right below the name of the video file in the stream, your viewers will see the progress of the video, indicating how far it is to the end.
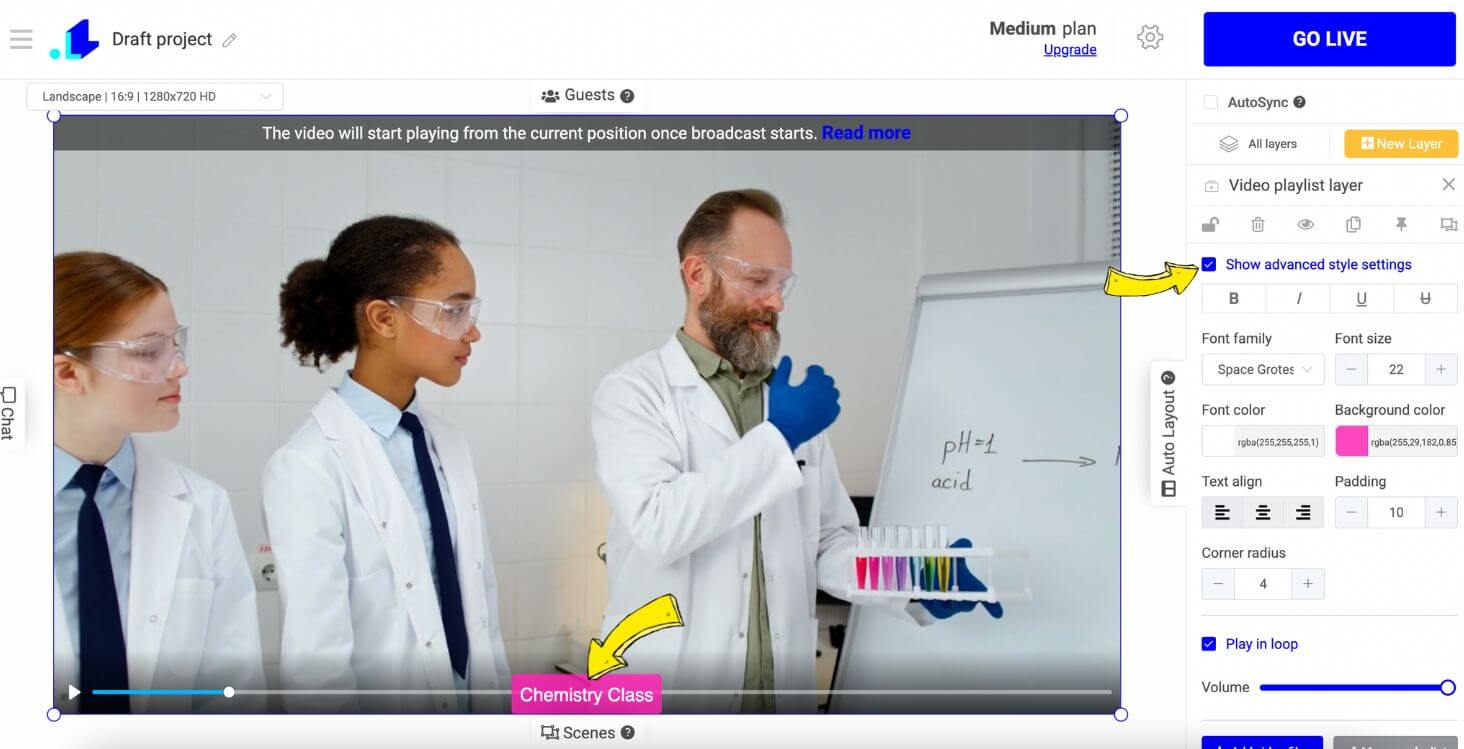
To change the style of the box with the name of the video files, you can tick the "Show Advanced Style Settings" box and choose font family, font size, font & background colors, text alignment, etc.
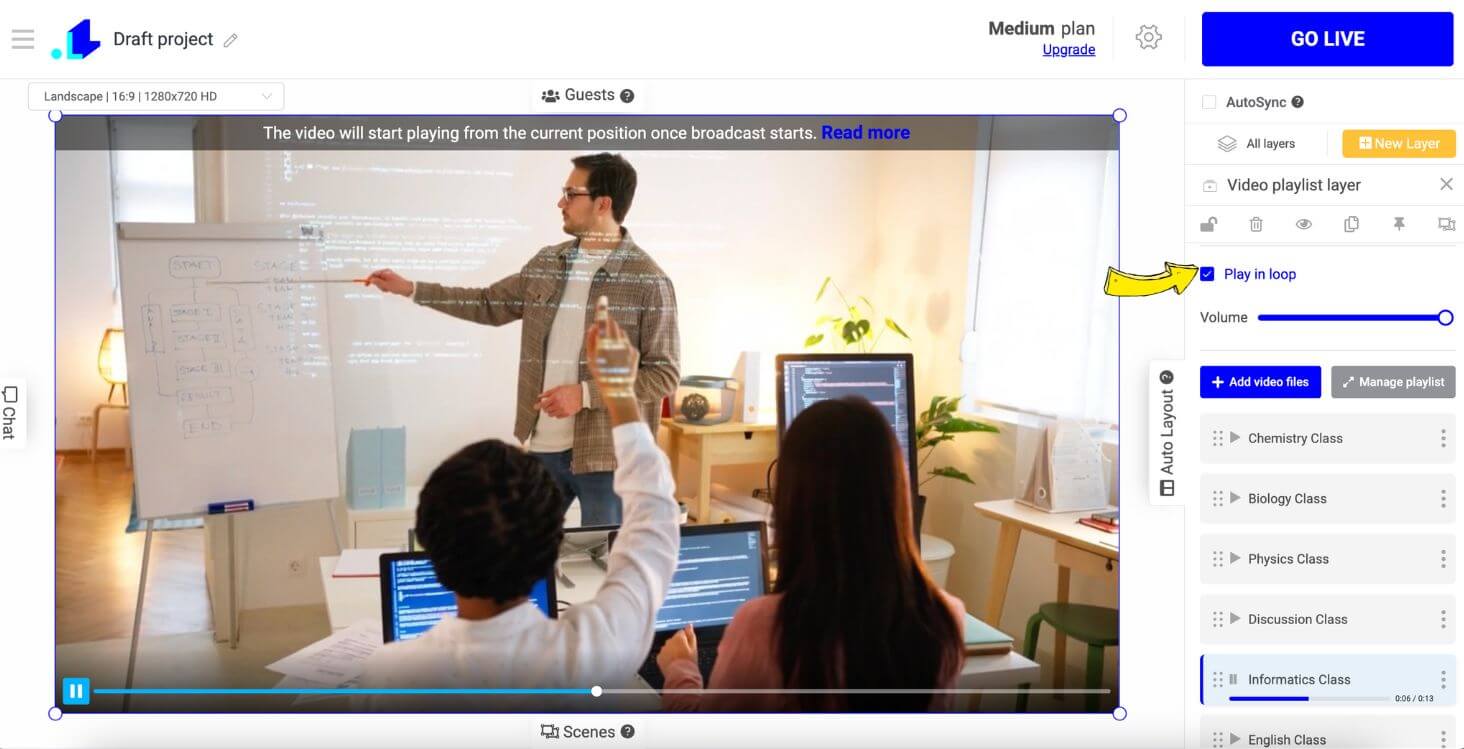
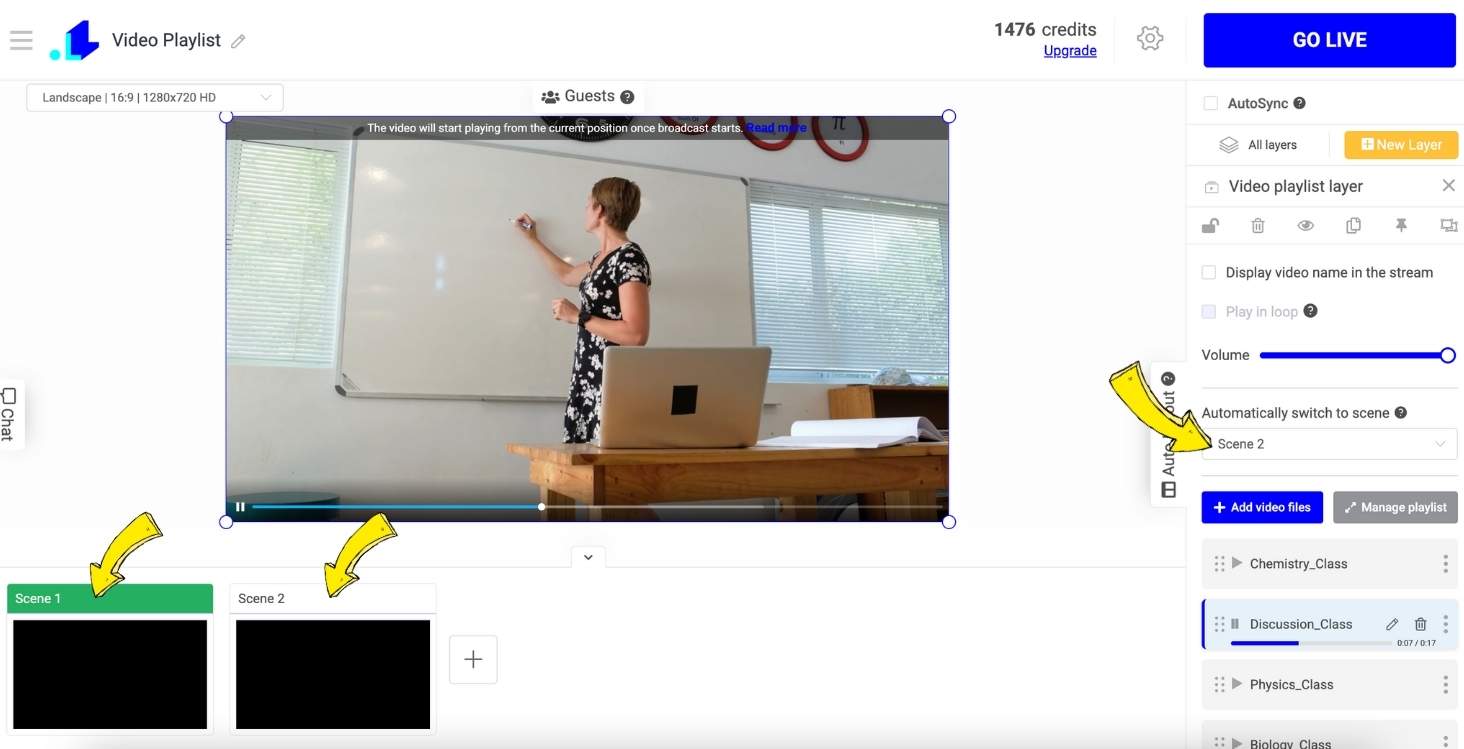
You can also put a tick "Play in loop" box, so once the final video in your playlist ends, the first one will start playing again. If "Play in loop," is disabled, the last video will just stop playing once it's over.
To set an automatic scene switch, first add your scenes, then go back to the Video Playlist layer. On the right sidebar, under "Automatically switch to scene," choose the scene to which you want to switch next after the current playlist.
How to manage a Video Playlist?
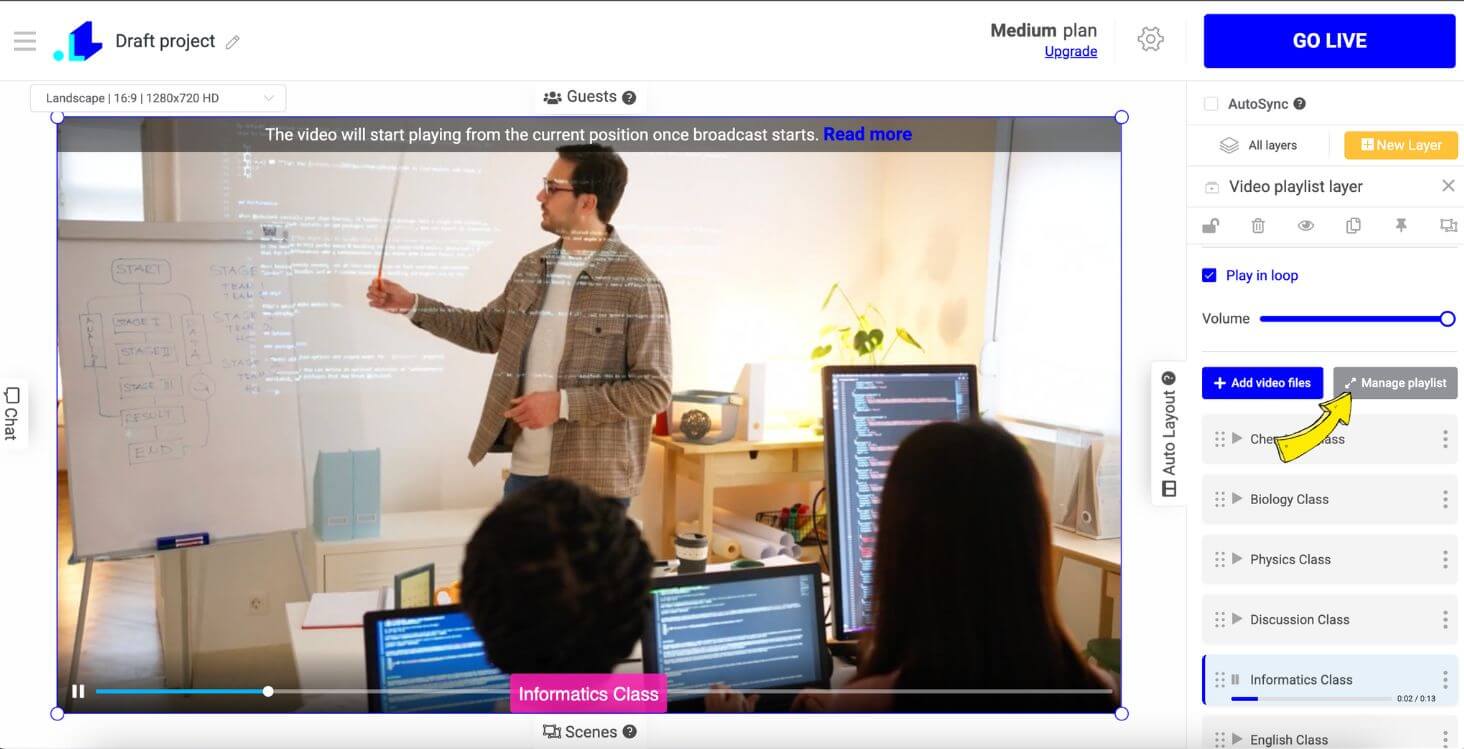
Above the playlist, you can click on "Manage Playlist" button. In the Playlist Manager, you can perform different actions to manage your playlist.
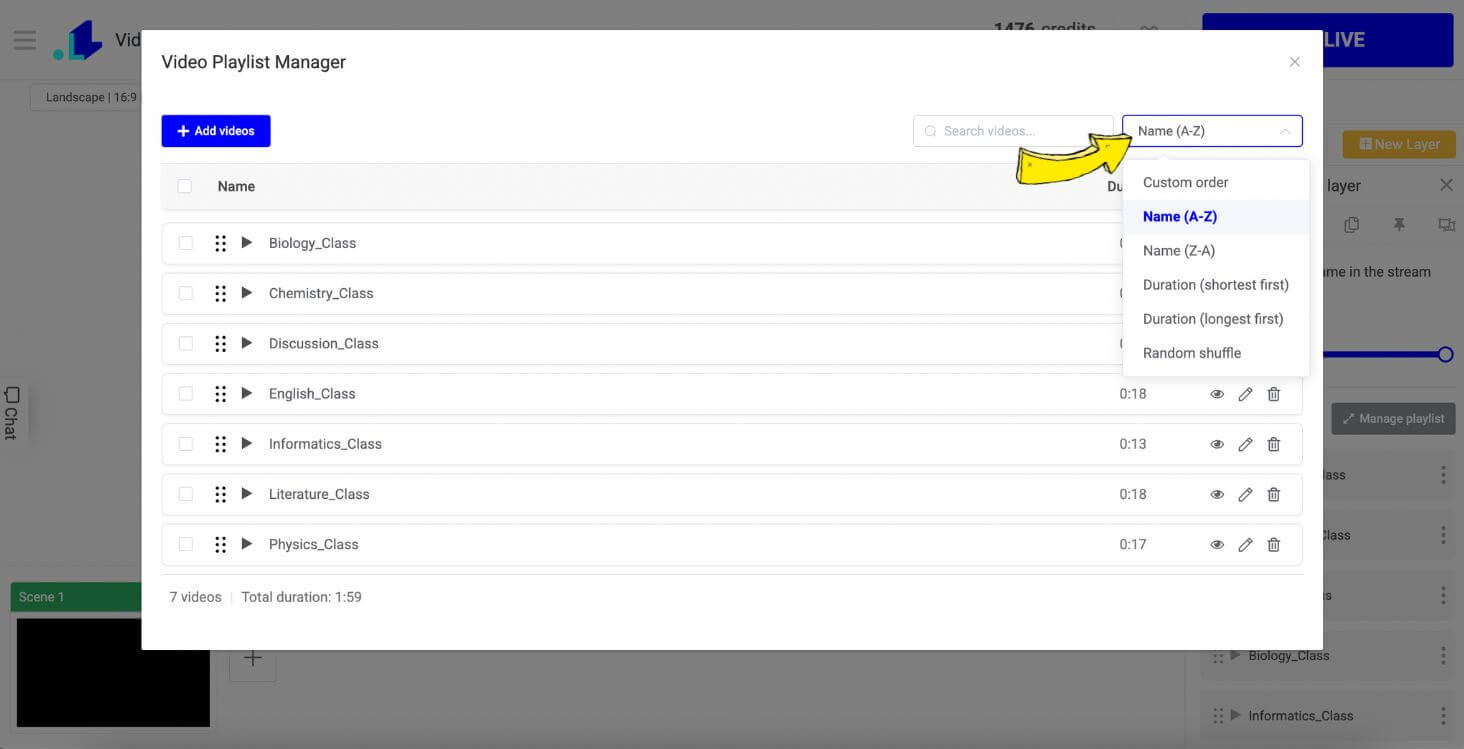
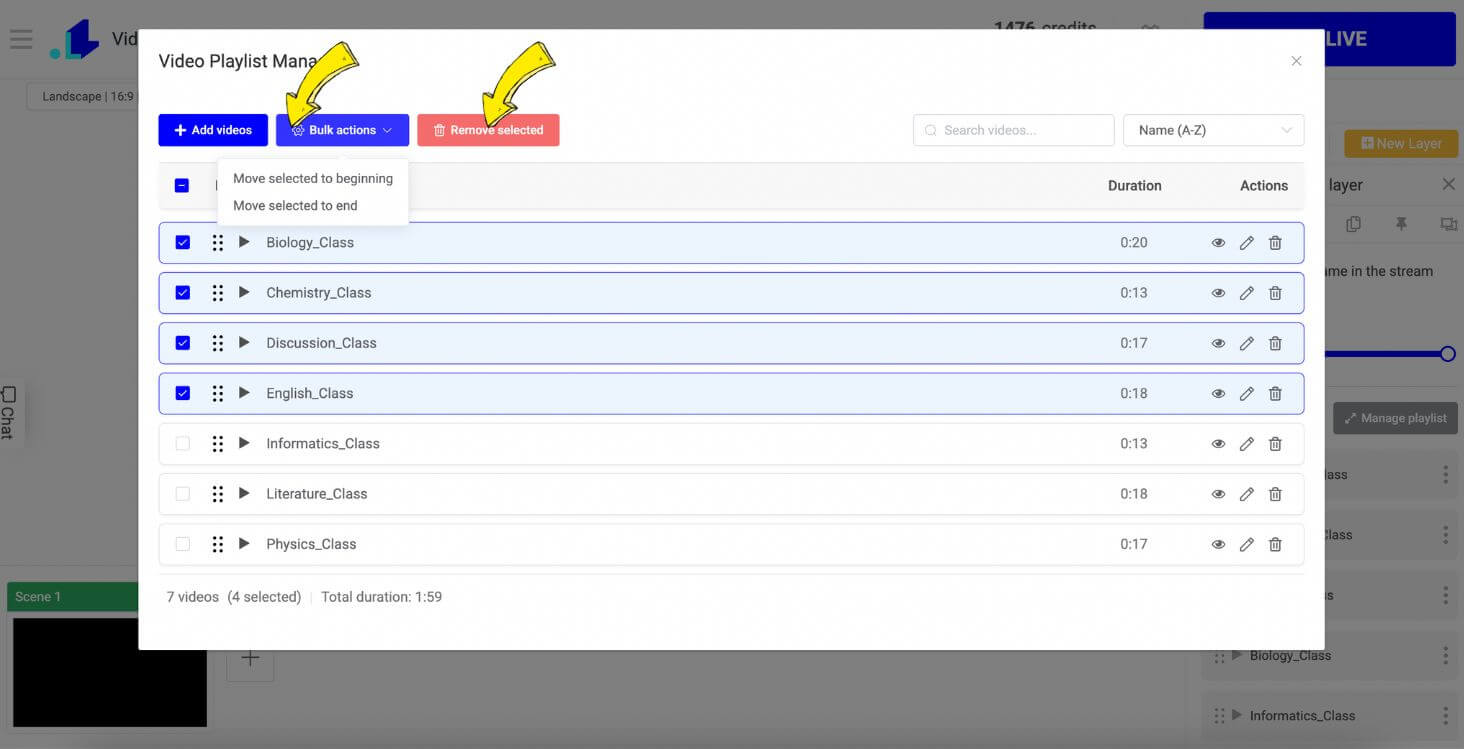
To sort the videos alphabetically or by duration, click on the box in the top right corner. In this list, you can also change the order of the files by dragging them using the six dots located on the left side of each file.
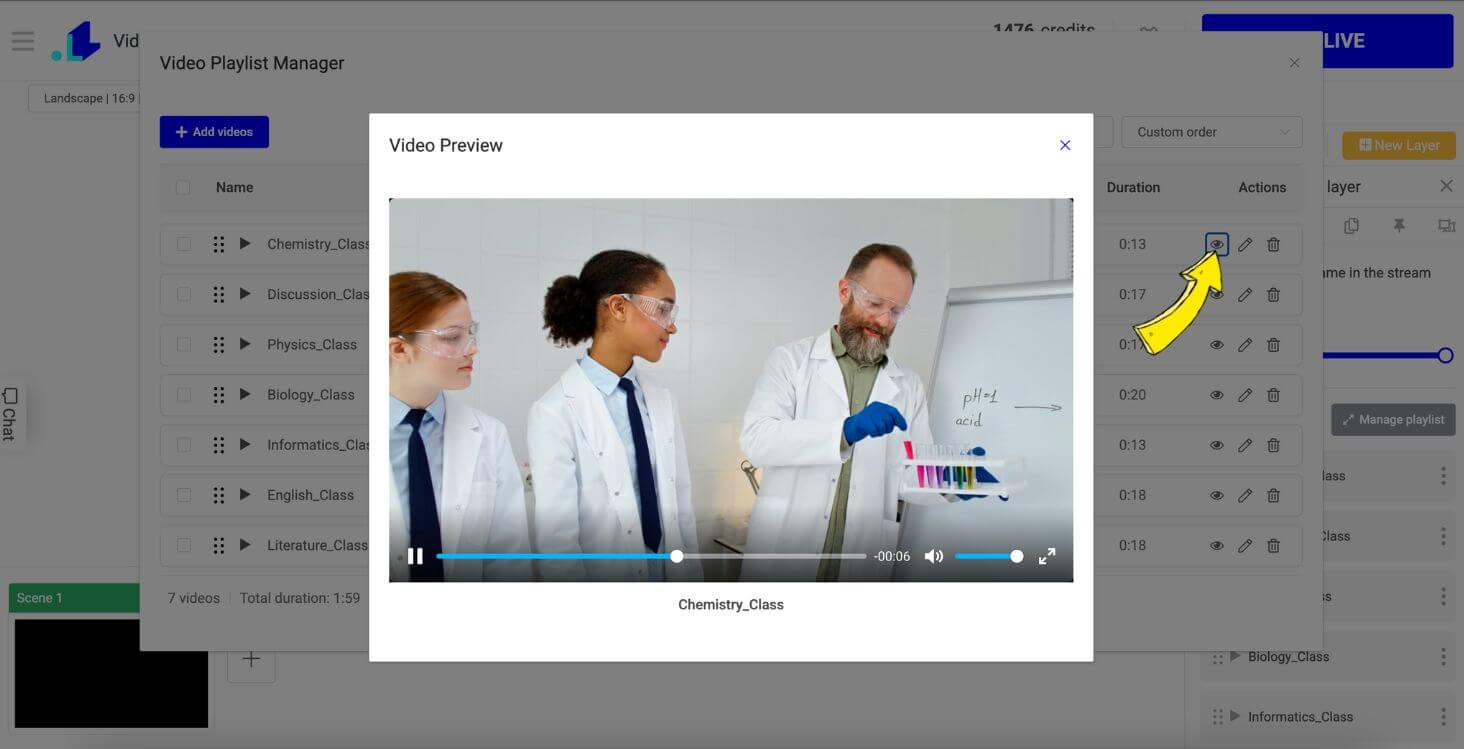
To quickly preview each file in the playlist, click on the eye icon next to a video file in the Playlist Manager.
To edit the name of the video file, click on the pen icon.
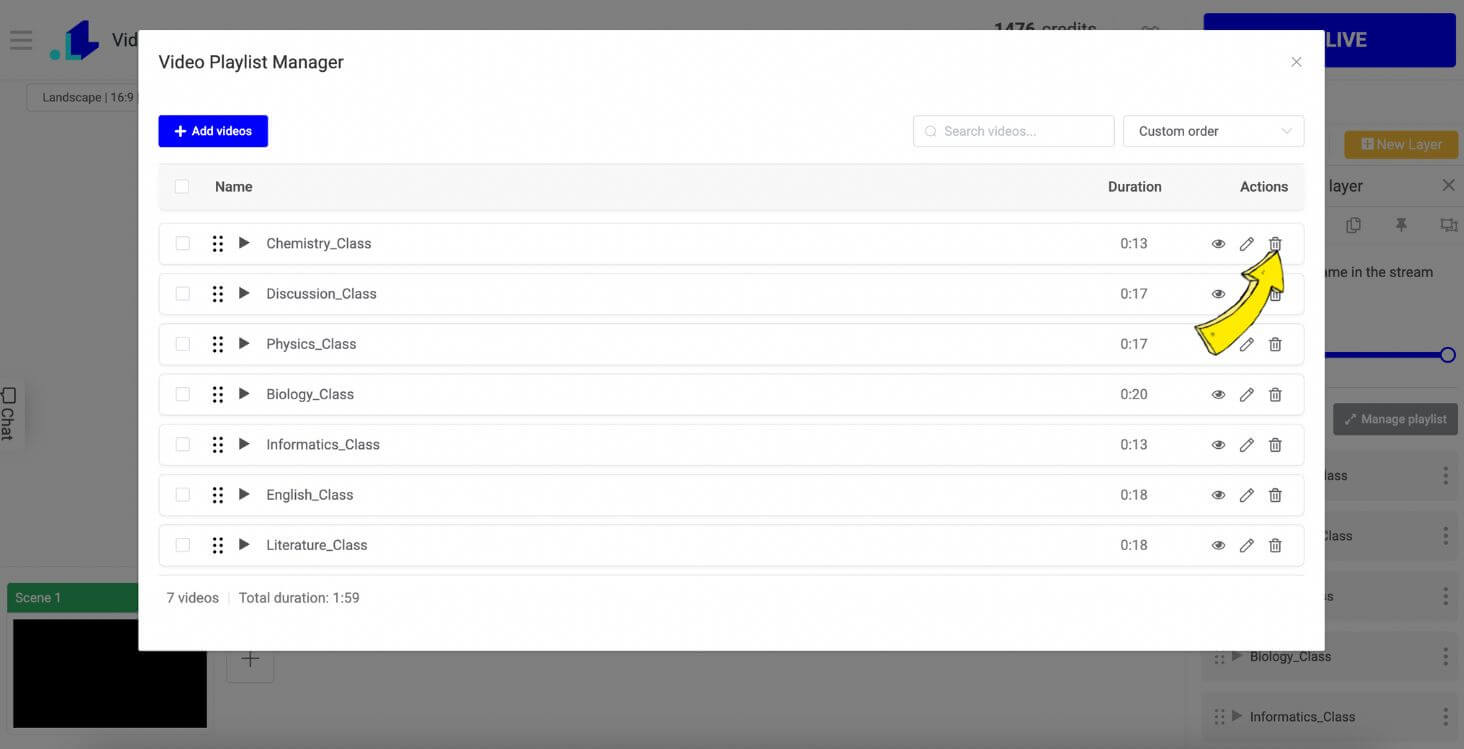
To remove the video file from the list, click on the bin icon next to the file. If you accidentally delete a file from the Playlist Manager, you can always add it again by clicking the "Add Videos" button in the top left corner.
To perform bulk actions - such as removing files or moving selected video files to the beginning, check the box next to the desired files and choose the desired action by clicking "Bulk Actions" or "Remove Selected."
You can also rename, delete, or change the order of the files directly in the right sidebar, without needing to open the Playlist Manager. To change their order, simply grab them by the six dots on the left side. To edit the name - click on a pen icon that will appear when you hover over the file. To delete the file - click on a bin icon that will appear when you hover over the file.
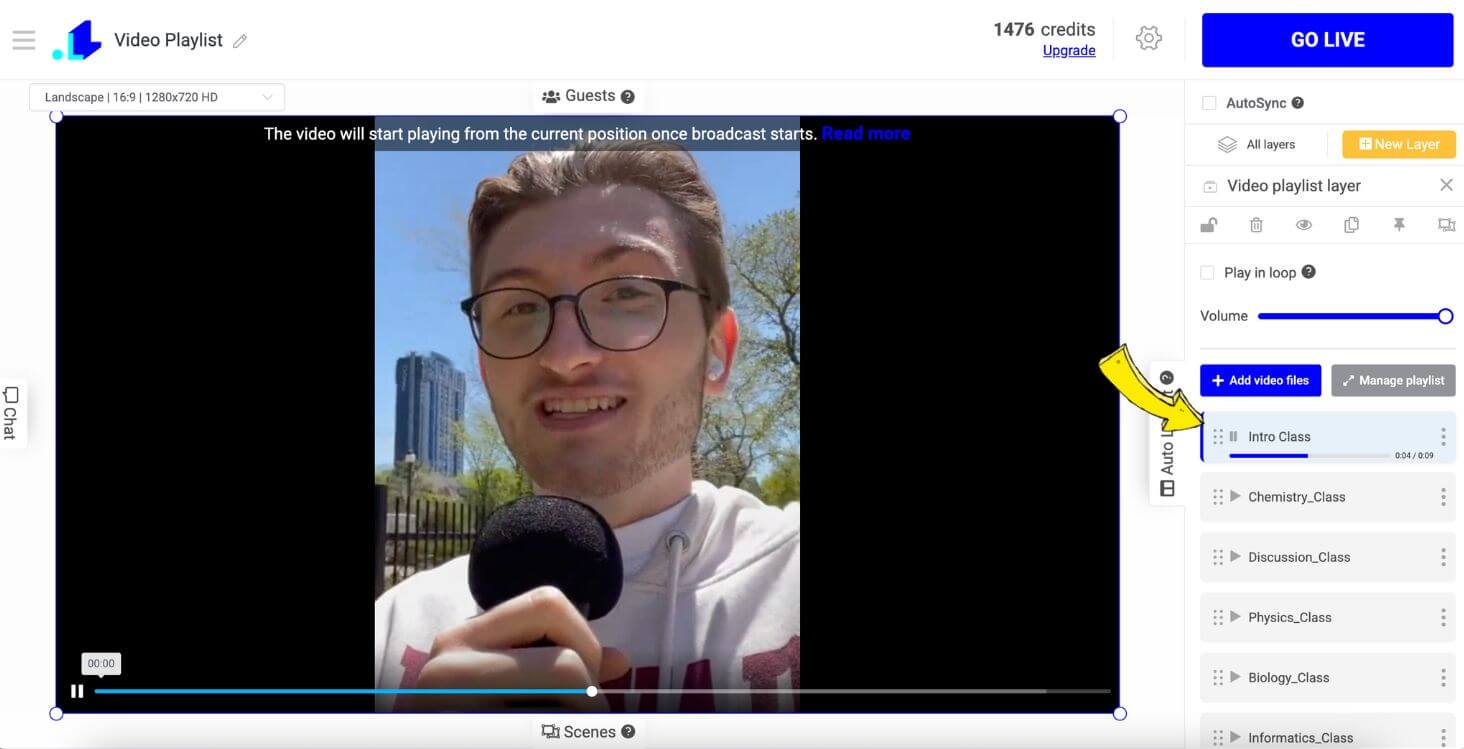
You can also add more files to the playlist, whether your video is currently live or not. Just click the "Add Video Files" button to add more.
Import and Export Video Playlists to CSV
You can quickly build playlists by importing video lists from a spreadsheet, including ad slot timings for scheduled ad breaks.
How to Export Your Playlist?
To export your current playlist to a spreadsheet, click the "Export" button in the Playlist Manager. This will download a CSV file containing all your videos and their ad slot timings (if any).
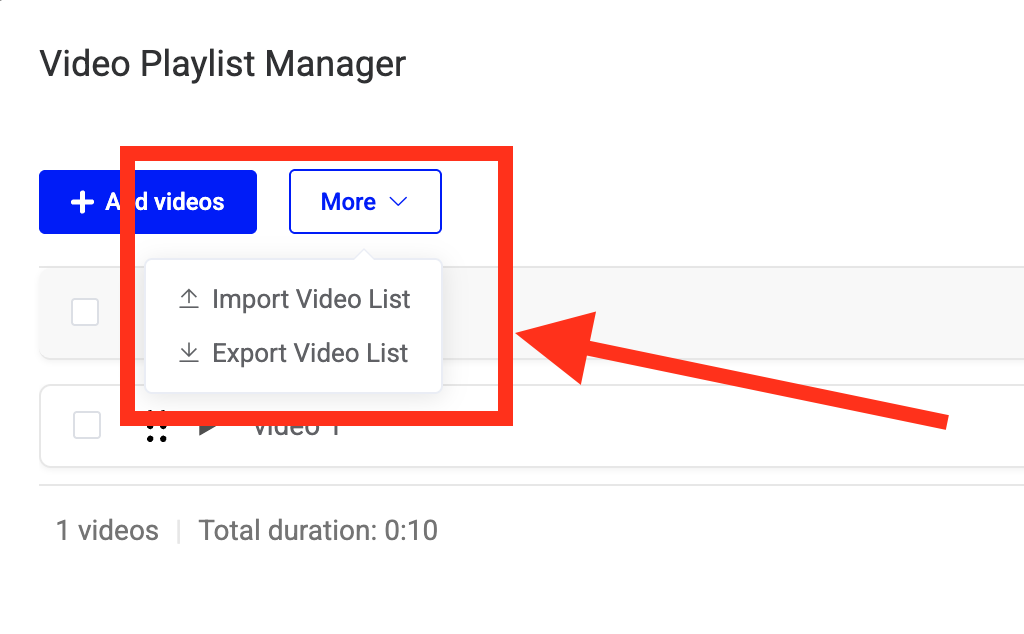
How to Import Videos from a Spreadsheet?
1. In the Playlist Manager, click the "Import" button.
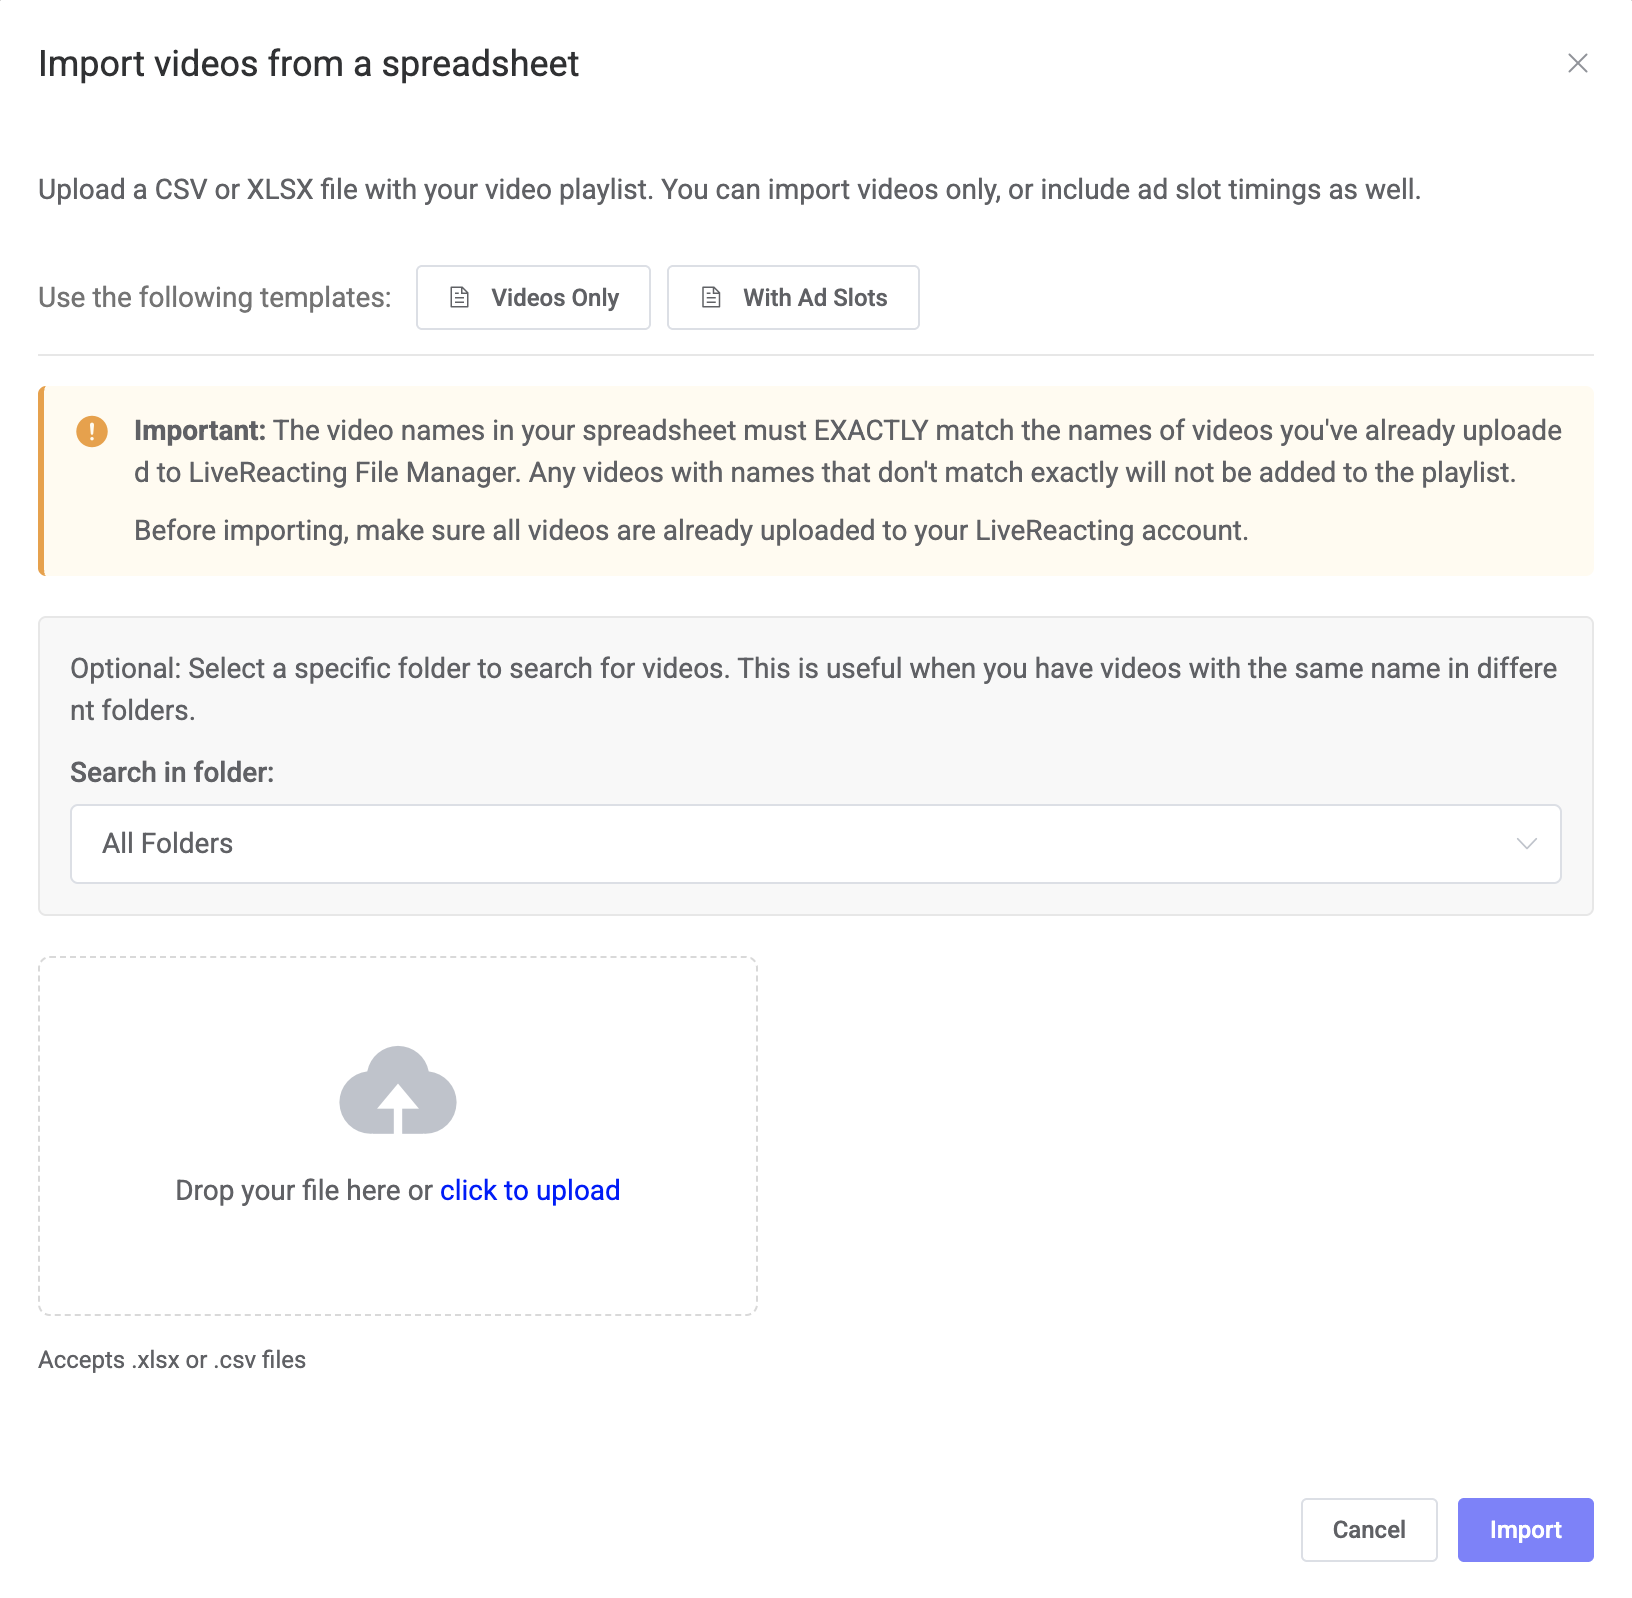
2. Download one of the template spreadsheets to get started:
- Videos Only - Basic template for importing just video names
- With Ad Slots - Template with columns for ad slot timings
3. Fill in your spreadsheet with video names that exactly match the names of videos already uploaded to your LiveReacting File Manager.
4. (Optional) If using the ad slots template, add timing information for each ad break:
- Ad1_Time - Start time for first ad (e.g., 00:00:30 or 1:15)
- Ad1_Dur - Duration in seconds (e.g., 15 for 15 seconds)
- Add more columns for Ad2, Ad3, etc. as needed
5. Save your file as CSV or XLSX and upload it by clicking "Import" and selecting your file.
Tips for Successful Imports
- Upload all videos to LiveReacting File Manager before importing
- Use the folder filter to search specific folders if you have videos with the same name
- Video names are case-sensitive and must match exactly (including spaces and special characters)
- Ad slot times can be formatted as seconds (45), MM:SS (1:15), or HH:MM:SS (1:30:00)
- Recommended ad duration is between 5-120 seconds
Recommended Articles:
📌 What are the 'Scenes' and how to use them in your stream?