This tutorial will guide you through the process of broadcasting a pre-recorded video as a live stream. With just a few straightforward steps, you can set your previously recorded content to go "live" on any social media platform or a custom RTMP destination, enhancing your views and engagement. You have the flexibility to go live right away or schedule your pre-recorded video for later. Let's begin:
1. Log into LiveReacting, or sign up if you don't have an account yet.
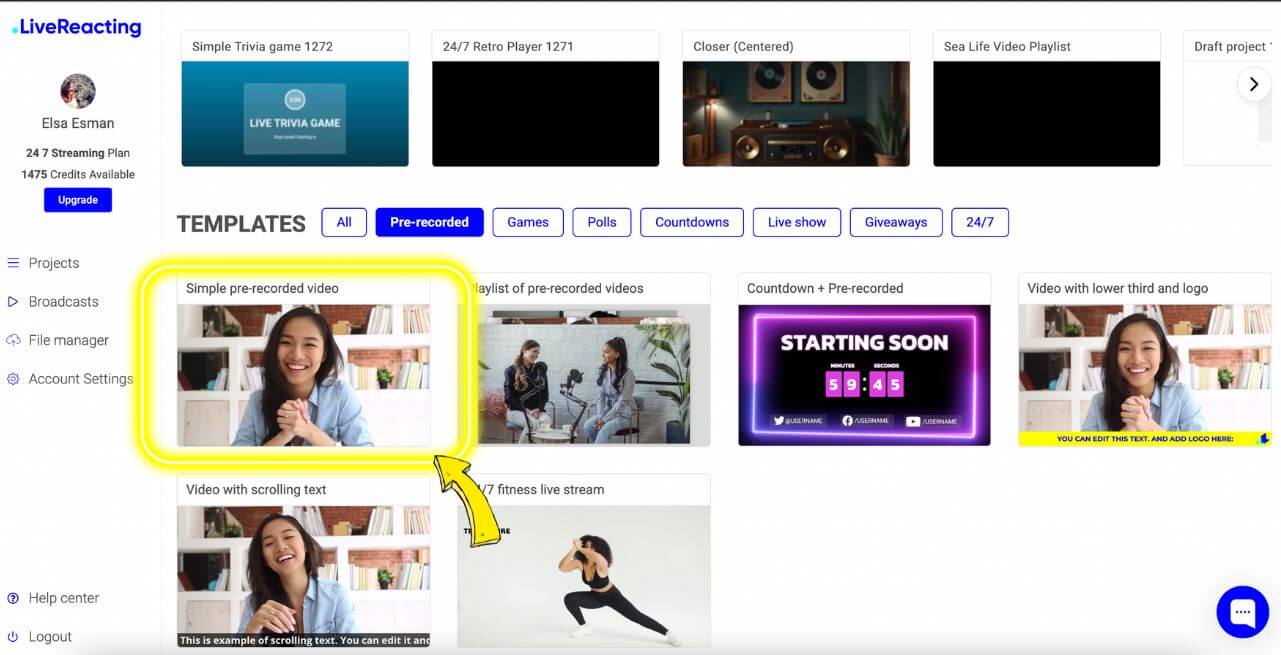
2. Select a pre-made video template "Simple Pre-Recorded Video".
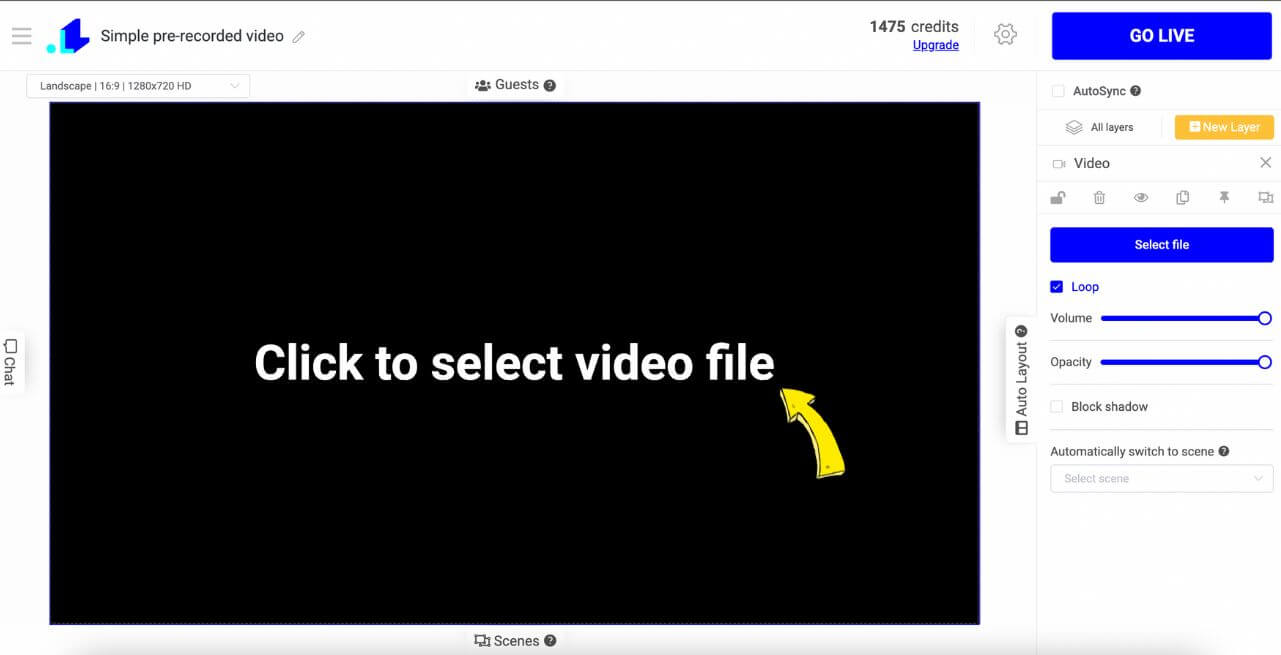
3. Upload your video. You can upload it by clicking "Click to select video file". Next, you'll see a file manager, where you can upload a new video. Once uploaded, tap on it to add it to your project.
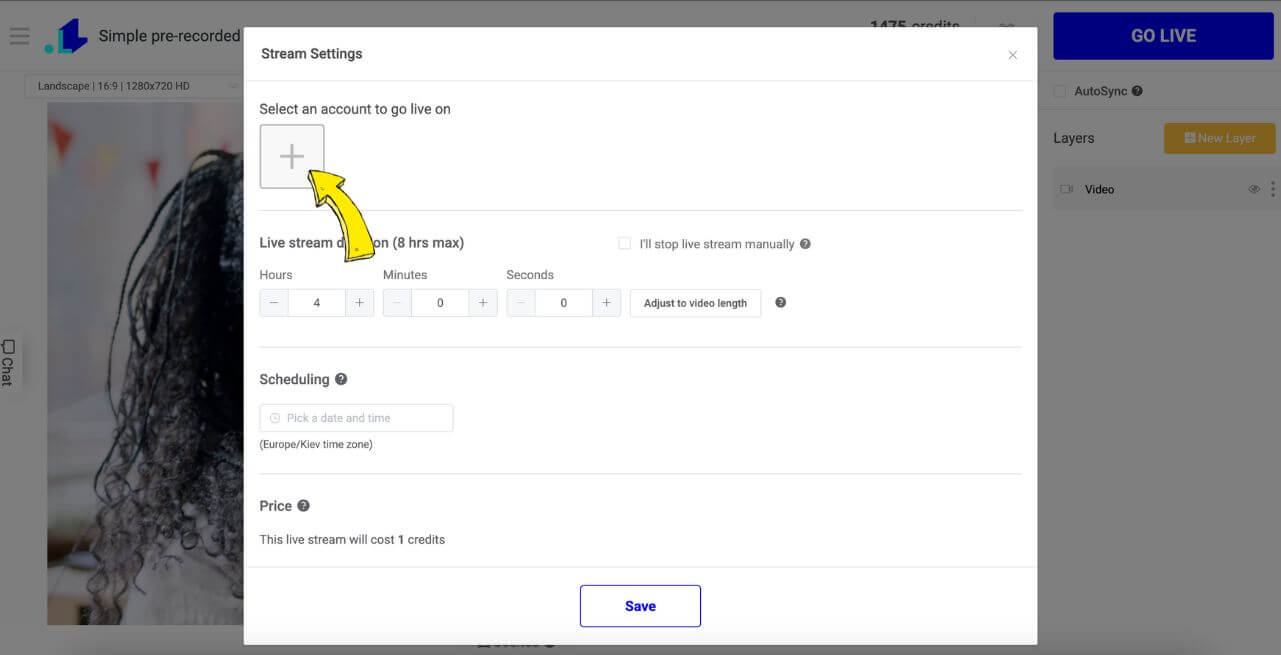
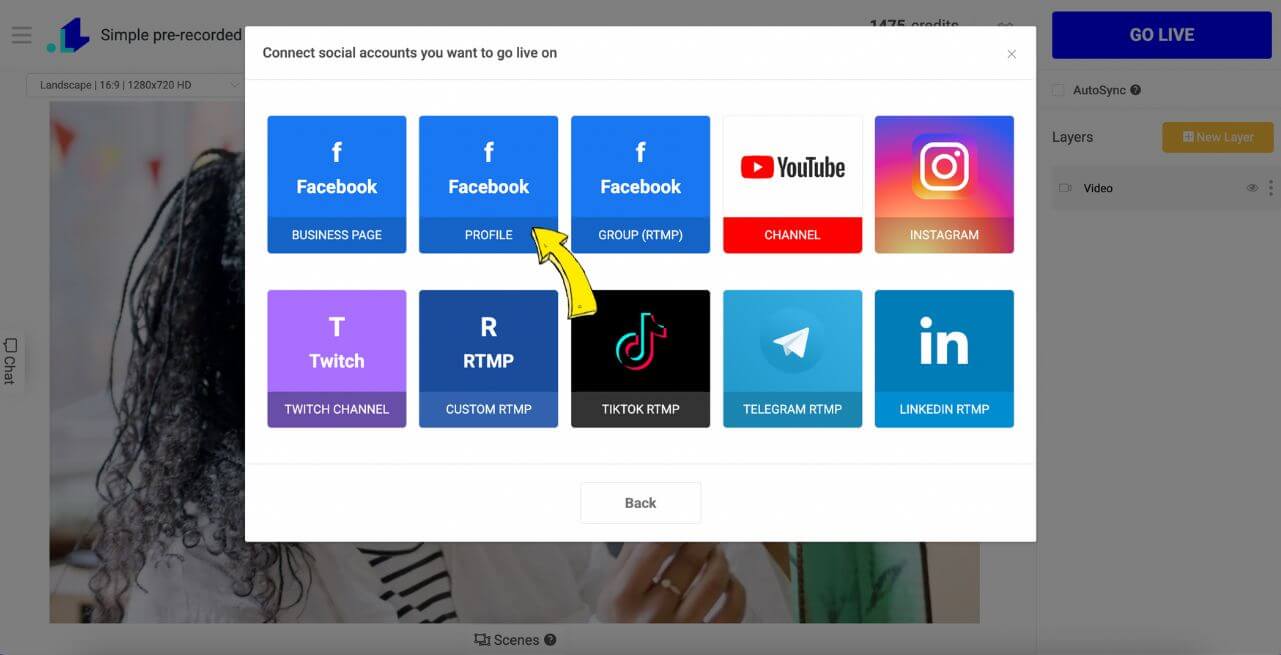
4. Set streaming settings. Link your social media account to go live on, add a catchy title, type in a cool description, and decide how long you want your stream to run. You can even schedule it for later if you like.

5. If you want to stream your video from the beginning, make sure that the pin is set on 00:00.

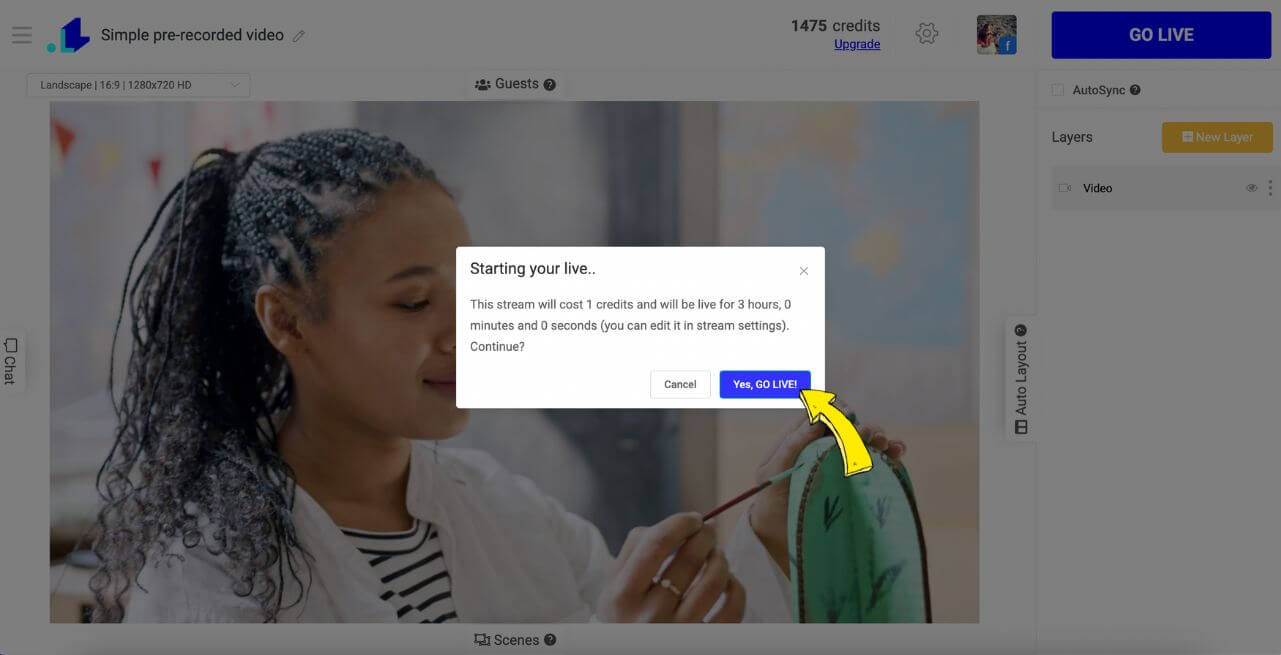
6. When you’re all set, hit that "Go Live" button, and watch your stream appear on your chosen social media platform within 5-40 seconds.

If you want to stream your video to multiple destinations, follow this tutorial.
You also might be interested in:
📌 How to add a Pre-recorded Live Stream after a Countdown?
📌 How to stream a pre-recorded video before the actual live?
📌 What are the 'Scenes' and how to use them in your stream?