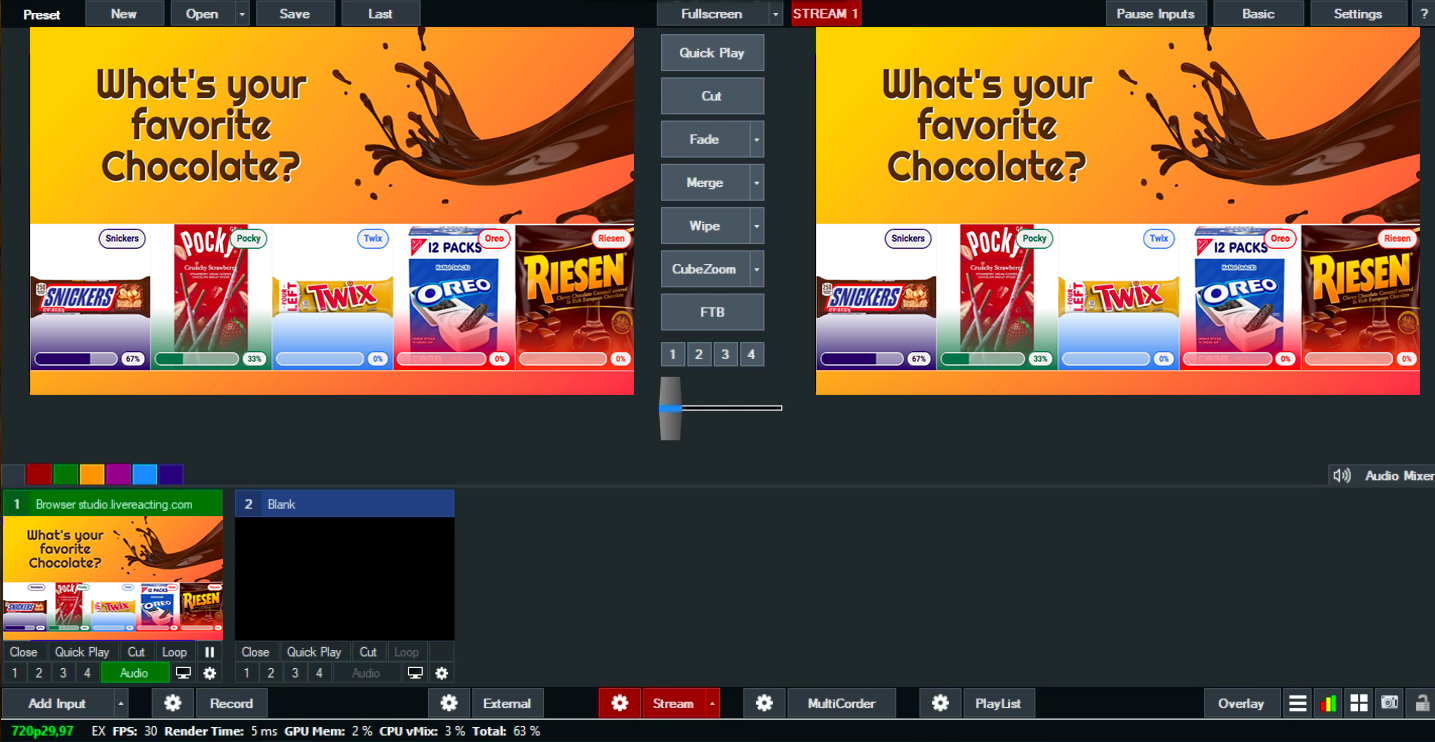
We're excited to share that we've developed a new Live Poll Plugin, which you can use in vMix Software. Here is a step-by-step guide on utilizing the new plugin:
1. Once you created or customized a poll, open your project Settings. Connect and select the account (social channel) on which you plan to go live. Only after that will you see the Plugin Mode option available. Make a tick on the following box, and copy the generated link.
2. Open your vMix Studio, click on the Add Input button at the bottom, and choose Video. After you created a new browser, enter the copied URL, and fill out the width and height fields (1280 x 720). Press OK.
3. You'll see the following notification, which means that your Live Poll is successfully integrated in vMix. Nevertheless, the layer with a poll will be invisible, and the poll won't start until you launch it in LiveReacting Studio.
5. Now, you just launch your stream via vMix, go back to your Live Poll project in the LiveReacting Studio, and click on Start.

Now your Live Poll must be visible to everyone. When the poll is over, you can easily remove the screen with Live Poll by going back to the Studio, and clicking on End Stream button.
